In this tutorial, I will show you how to perform outpainting using a Stable Diffusion model and Diffusers Python library. Outpainting is an amazing image generation technique that you should have in your AI art skillset.
I suggest you get an overview of inpainting using Stable Diffusion to easily understand outpainting.
What is Outpainting in the context of AI image generation?
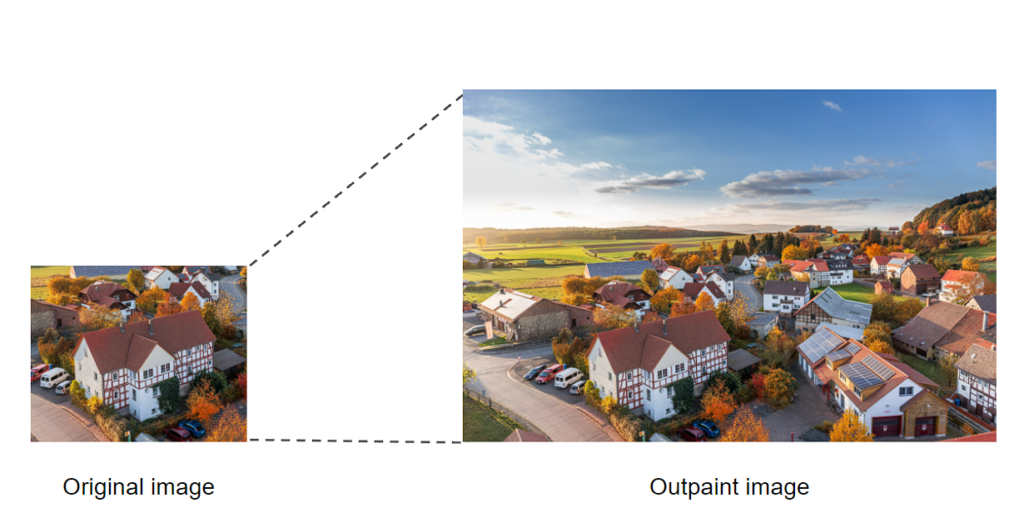
Outpainting can be described as a process of extending a given image by generating new pixels around that image with the help of generative AI models like Stable Diffusion.
For instance, given a cropped image of a landscape, outpainting can produce a complete image that shows more of the scene. Outpainting can be useful for applications such as image editing, virtual reality, and artistic creation.
Perform Outpainting in Python
I will employ the ReV_Animated_Inpainting model for the outpainting task. While it may initially appear perplexing to use an inpainting model for outpainting, I encourage you to stay calm and proceed with the tutorial. Everything will become clear as you follow along.
Feel free to download my Colab notebook with the entire outpainting Python code.
Import Stable Diffusion model
model_id = "redstonehero/ReV_Animated_Inpainting"

pipe = AutoPipelineForInpainting.from_pretrained(model_id,
                                 torch_dtype=torch.float16)

pipe.enable_model_cpu_offload()
Import input image
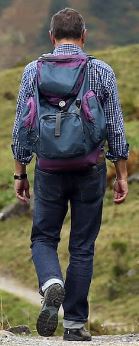
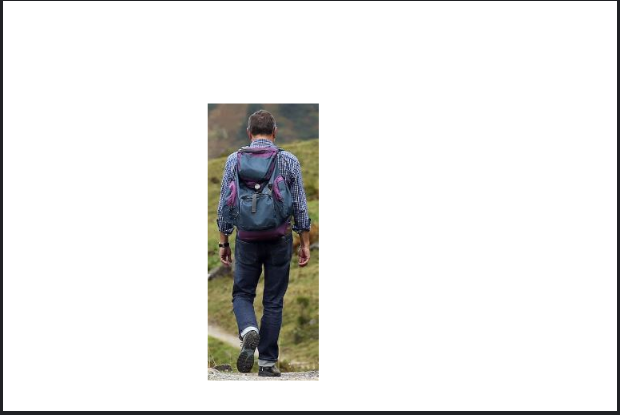
I will use an image of a traveler as the input image for my outpainting pipeline. In this image, there is not enough background and it is tightly bound around the person in the image.
# load image
image = Image.open("/kaggle/input/stock-images/hiker.JPG")

# display image
image
# get image dimensions
image.size
Output: (139, 346)
The image is 139 pixels wide and 346 pixels in height.
Now we will create a canvas (a blank image) and insert this input image on that blank canvas. The empty region of that canvas will be used for outpainting.
Create a blank canvas for outpainting
I am creating an empty white image of size 768 x 512 pixels.
width = 768
height = 512

# Create a white image/canvas
mask = Image.new("RGB", (width, height), "white")
Add a black region on the canvas
Now before overlaying the input image of the traveler on the blank canvas, I will create a black rectangle almost identical to the input image.
On top of this black region, I will paste my input image and white regions will surround it.
## Draw a black patch
# specify coordinates of the top-left corner of the black rectangle
left = 256
top = 128

# calculate width and height of the rectangle
right = left + image.size[0] - 5
bottom = top + image.size[1] - 5

draw = ImageDraw.Draw(mask)
draw.rectangle([left, top, right, bottom], fill="black")

# display canvas
mask
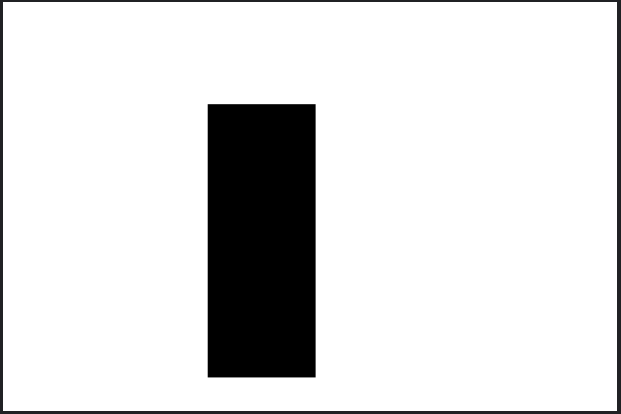
This concept of using a binary black-and-white image is borrowed from inpainting where the white region was inside the black region. The Stable Diffusion would generate the new pixels in the white region only.
Place the input image on the canvas
input_image = mask.copy()

# Paste the input image onto the black region on the canvas
input_image.paste(image, (left, top))

# display image
input_image
Outpainting using Stable Diffusion pipeline
prompt = """
(best quality,realistic,highres:1.2),soft toned, realistic countryside, peaceful scene,
detailed houses and trees, scenic countryside road, sunlit fields, tranquil atmosphere,
warm sunlight, lush greenery, rustic charm, homely cottages, serene landscape, subtle shadows,
bucolic setting, calm and quiet ambiance, soft light and shadows, immaculate details,
serenity captured, classic rural scenery, peaceful and untouched nature
"""

negative_prompt = "painting, digital art, 3d art, low quality"

seed_value = 511619

result = pipe(prompt=prompt,
             negative_prompt=negative_prompt,
             width=768,
             height=512,
             num_inference_steps=45,
             image=input_image,
             mask_image=mask,
             guidance_scale=6.5,
             strength=1.0,
             generator=torch.manual_seed(seed_value)).images[0]
Make sure that the value of the “strength” parameter is 1.0 to get the desired outpainting. If you want to try out your prompt, then I suggest you start with fewer inference steps (num_inference_steps) and increase the number once you are satisfied with the generated image.
You can also change the seed value in the pipeline. It simply makes sure that for a given set of parameters, you get the same output again and again.
Now let’s check out the final output image!
result
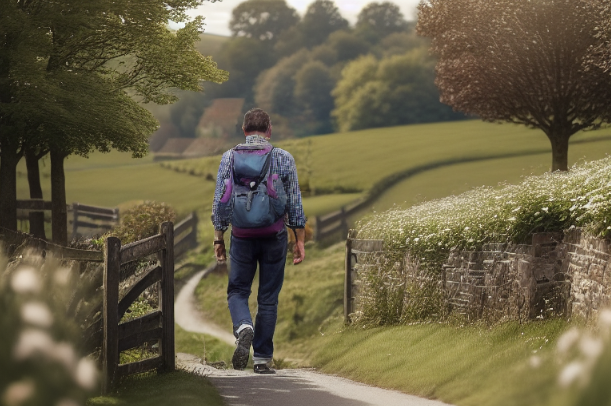
This is how we can use the capabilities of Stable Diffusion models and the flexibility of Python to generate such amazing AI art and images.
You can download the code notebook and the input image from here. Make sure GPU is enabled.


I have followed your steps for the background extender, and it is functioning correctly. However, it provides optimal results only for images up to 512×512 pixels. Could you advise on how to handle larger-scale images effectively?
It depends on the combination of parameters that you are using. Try to tune each parameter one-by-one and see if can get a better output.