Introduction
The purpose of this tutorial is to provide guidance and understanding to users who need a simple, yet effective way to add and wrap text over images using Python and the Pillow library.
Adding and wrapping text on images is an indispensable feature when it comes not only to image processing, but also various technological fields such as:
- Digital Watermarks: Placing text-based watermarks on images usually requires arranging and fitting the text onto the image without obstructing important content. Thus, wrapping text dynamically can come in handy for watermarks that vary in size.
- Meme Generators: Creating memes often calls for incorporating captions and quotes within images. Adding exclusive effects, positioning phrases creatively, or developing mechanisms to make posted text legible on complex backgrounds, cater further to the expansion of meme culture.
- Infographics: One essential aspect of an infographic involves overlaying relevant info on images or graphic representations. Skillfully adding passages and reflecting specified text wrapping constraints allows for devising visually appealing and efficiently articulated promotional/advertising material.
- Automated Social Media Posts: Systems entailing brand content producers to self-construct text plus relevant imagery could harness the process of merging of saved subjects files and descriptions/ marketing texts while facilitating adjustable reading orders on images implementing as per width criteria.
This tutorial offers intriguing introspect towards seemingly exciting programming steps evidently utilizing aesthetics persuasively entailing incorporating text via program definitions making up the cherry top aspects of reputable visual digital representation.
Task – Automate text wrapping over image
Let’s try to understand the task at hand. Assume that you have an image of certain dimensions and you want to add a text sentence on top of the image.
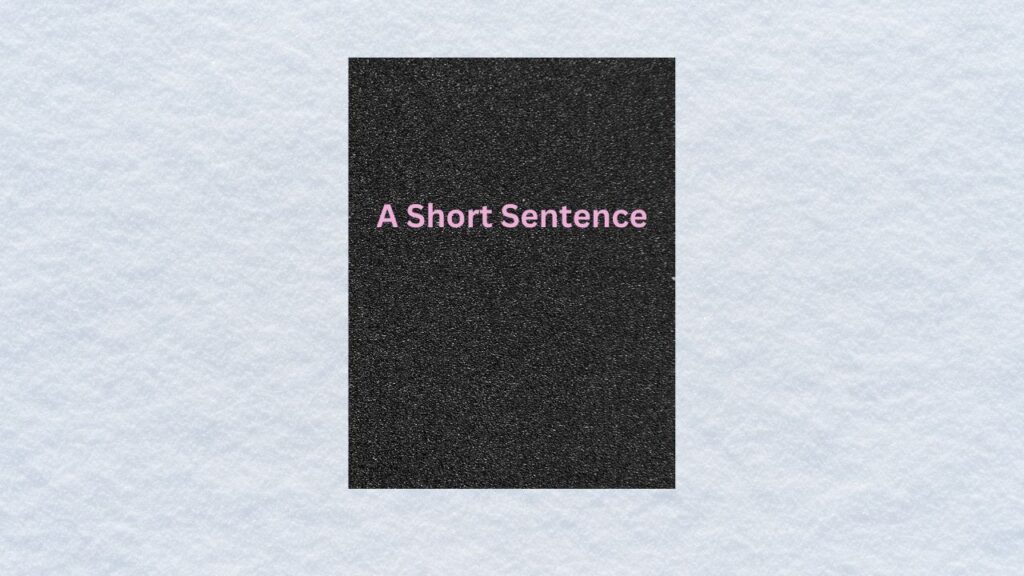
If the length of the sentence is less than the width of the image then it should appear in a single line over the image as illustrated below.
However, if the length of the text is greater than the width of the imag, then the text should automatically split itself into multiple lines as show below.

In the article, Generate Infographics using Python, we have covered add text and smaller images on a background image, you can refer it to learn the basics.
In this tutorial, we will add a logic to split text into multiple lines based on the length of the text sentence and the width of the image.
Overlay Text on Image using Python
Import Python modules
from PIL import Image, ImageDraw, ImageFont
import numpy as np
import matplotlib.pyplot as plt
Function to break text into multiple lines
As discussed before, if the length of the text sentence is more than the width of the image then the text should be split into multiple lines.
def wrap_text(text, max_width, font):
    lines = []
    words = text.split(' ')

    current_line = ''
    for word in words:
        test_line = current_line + word + ' '
        line_width, _ = font.getsize(test_line)
        if line_width <= max_width:
            current_line = test_line
        else:
            lines.append(current_line[:-1])
            current_line = word + ' '

    lines.append(current_line[:-1])
    return lines
Function to add wrapped text over image
Now we will define a Python function to overlay text on the image.
def add_text_to_image(image, sentence):

    # Load a suitable font with the desired size
    font_size = 72
    font = ImageFont.truetype("arial.ttf", font_size)

    # Apply line wrap if the text is longer than the image width
    max_width = int(image.width * 0.9)
    wrapped_text = wrap_text(sentence, max_width, font)

    draw = ImageDraw.Draw(image)
    line_spacing = 1.3  # Adjust this value based on your needs
    x = (image.width - max_width) // 2
    y = (image.height - int(font_size * len(wrapped_text) * line_spacing)) // 2

    for line in wrapped_text:
        line_width, _ = font.getsize(line)
        draw.text(((image.width - line_width) // 2, y), line, "white", font=font)
        y += int(font_size * line_spacing)

    # save image to disk
    image.save("output.jpg")
Before calling this function you should download the font file and the input image from here.
# input image
image = Image.open("input_image.jpg")

#input text to be wrapped on the input image
sentence = "This is a long text that will wrap to multiple lines when added to the image of dimensions 500x300 pixels."

add_text_to_image(image, sentence)

plt.imshow(image);
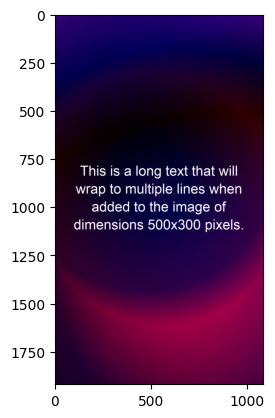
As you can see in the image above, the input text is appearing in four rows and that to at the center. To take it to the next level, we can try wrapping text over a video instead of images. We can even have video inside the text rather than simply overlaying text on top of the video. There are many many things we can do here.