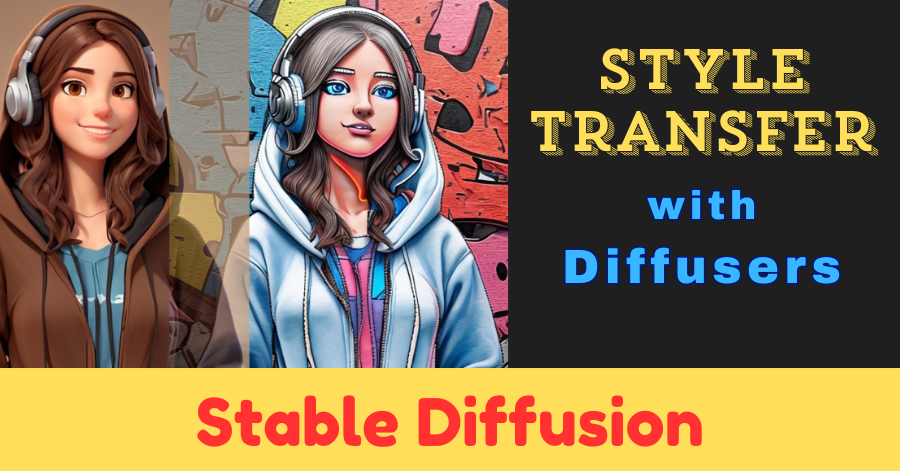
In this post, I will show you how to perform image style transfer with the help of a Stable Diffusion model. I will also use ControlNet and IP-Adapter for this task.
The Python code below can be executed in a Colab notebook. Make sure you have GPU enabled on your Colab notebook.
What is style transfer?
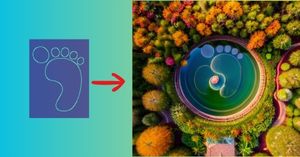
Style transfer means combining a base image with a style image so that the resultant image should contain the base image’s content and the style image’s style.
Consider the following two images.
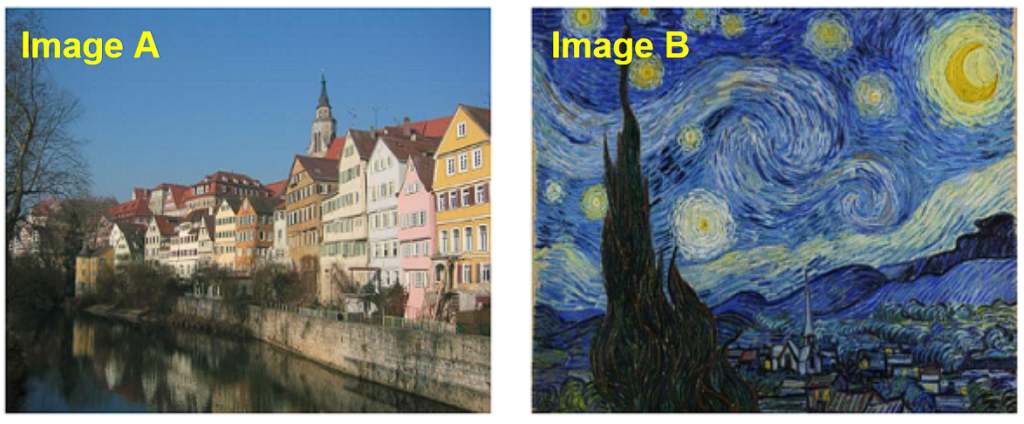
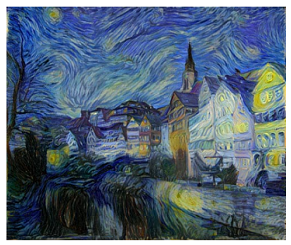
Let’s say we want to add the style of image B to image A. The output image should look like this 👇
Style transfer in Python
Install and import libraries
!pip install accelerate diffusers controlnet_aux
import torch
from controlnet_aux import CannyDetector
from diffusers import StableDiffusionControlNetPipeline, ControlNetModel
from diffusers.utils import load_image, make_image_grid
Import ControlNet and Absolute Reality model
ControlNet model – https://huggingface.co/lllyasviel/sd-controlnet-canny
Absolute Reality model – https://huggingface.co/Yntec/AbsoluteReality
controlnet = ControlNetModel.from_pretrained(
    "lllyasviel/sd-controlnet-canny",
    torch_dtype=torch.float16,
    varient="fp16")

pipe = StableDiffusionControlNetPipeline.from_pretrained(
    "Yntec/AbsoluteReality",
    controlnet=controlnet,
    torch_dtype=torch.float16)
Load IP Adapter
pipe.load_ip_adapter("h94/IP-Adapter",
                     subfolder="models",
                     weight_name="ip-adapter_sd15.bin")

pipe.enable_model_cpu_offload()
IP Adapter models – https://huggingface.co/h94/IP-Adapter
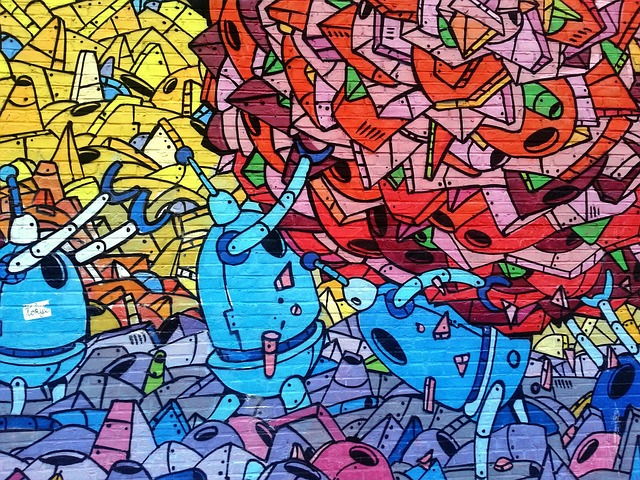
# load style-image
ip_adap_img = load_image("painting.jpg")

#display image
ip_adap_img

This image will be used as the style image. The colors and the patterns in this image will be mixed with the content of the base image.
Download style image
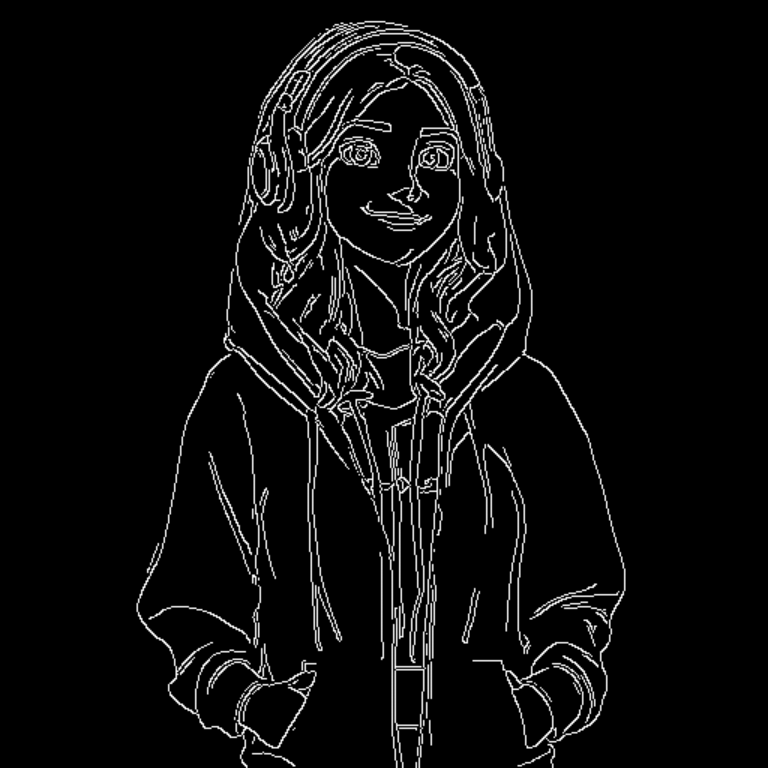
Convert input image to Canny edge image
First, let’s load the base image.
# load input image
img = load_image("3d-person.jpeg").resize((768, 768))

img

Download base image
Next, the base image will be converted into a Canny edge image.
# detect edges
canny = CannyDetector()
canny_img = canny(img, detect_resolution=512, image_resolution=768)

# display image
canny_img
Perform style transfer
prompt = """
(photorealistic:1.2), raw, masterpiece, high quality,
8k, girl wearing hoodie, headphones, hands in pocket
"""

# weightage to style image
pipe.set_ip_adapter_scale(0.5)

# generate images
images = pipe(prompt = prompt,
              negative_prompt = "low quality",
              height = 768,
              width = 768,
              ip_adapter_image = ip_adap_img,
              image = canny_img,
              guidance_scale = 6,
              controlnet_conditioning_scale = 0.7,
              num_inference_steps = 20,
              num_images_per_prompt = 3).images
This pipeline will generate 3 image variants.
You can check out my other blog posts on Stable Diffusion to learn more about the parameters used in the pipeline above.
The variable ‘images’ is a list that has 3 generated images. Let’s add the original base image to this list as well.
# insert the original image in the list of generated images
images = [img] + images
Display images
make_image_grid(images, cols=4, rows=1)

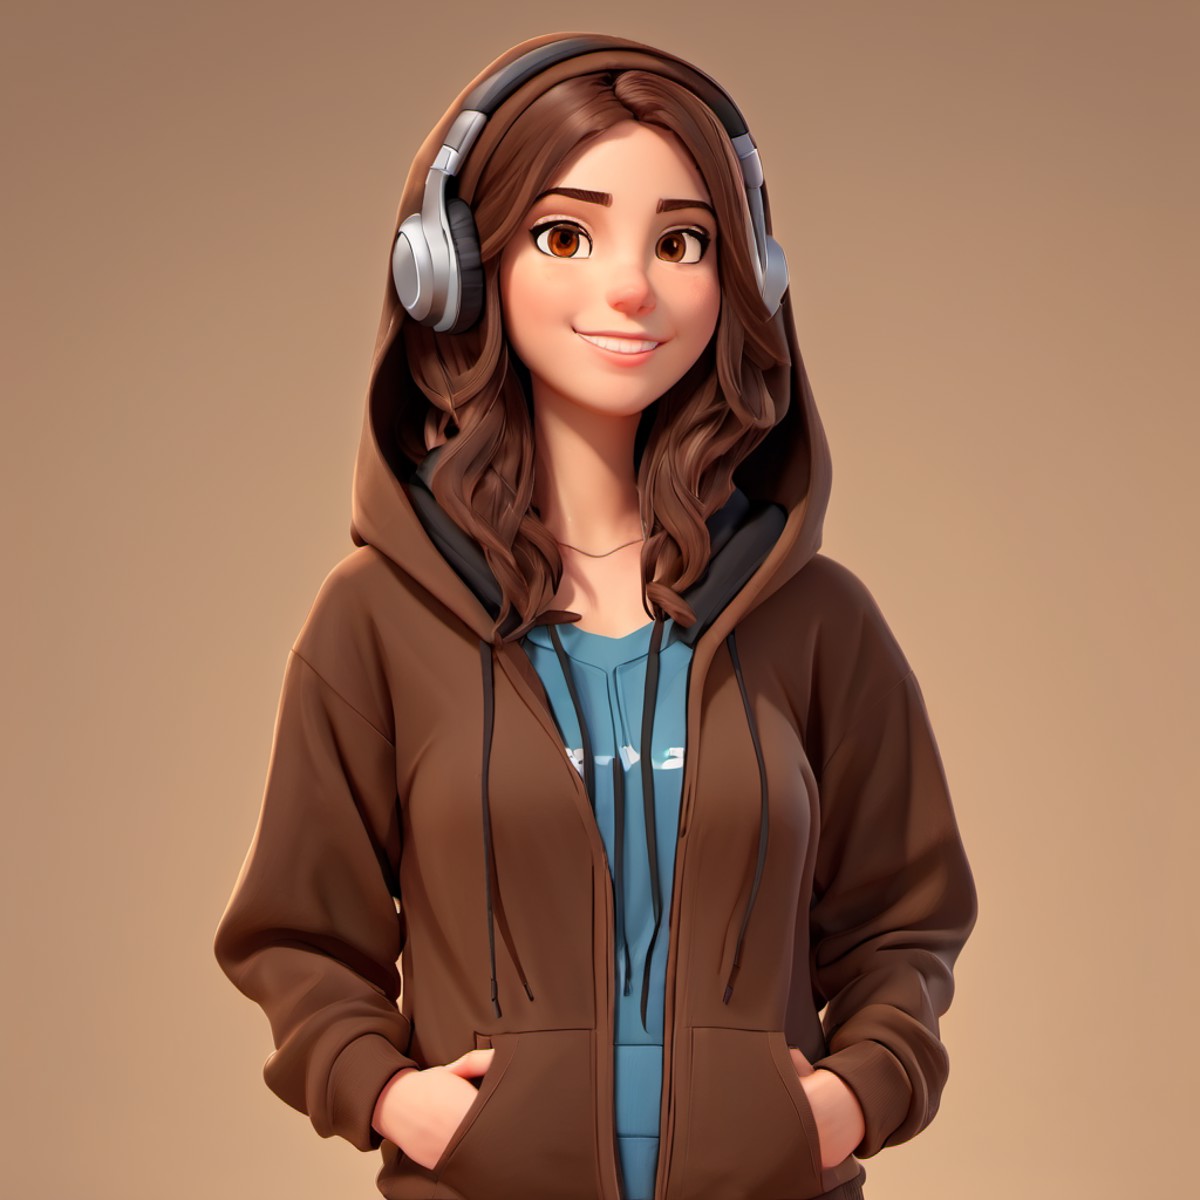
As you can see, the style image’s characteristics are visible in the generated images. This is due to the IP Adapter model.
Apart from that, all the generated images contain a 3d character of a girl wearing a hoodie and headphones. This was made possible by the ControlNet model.

